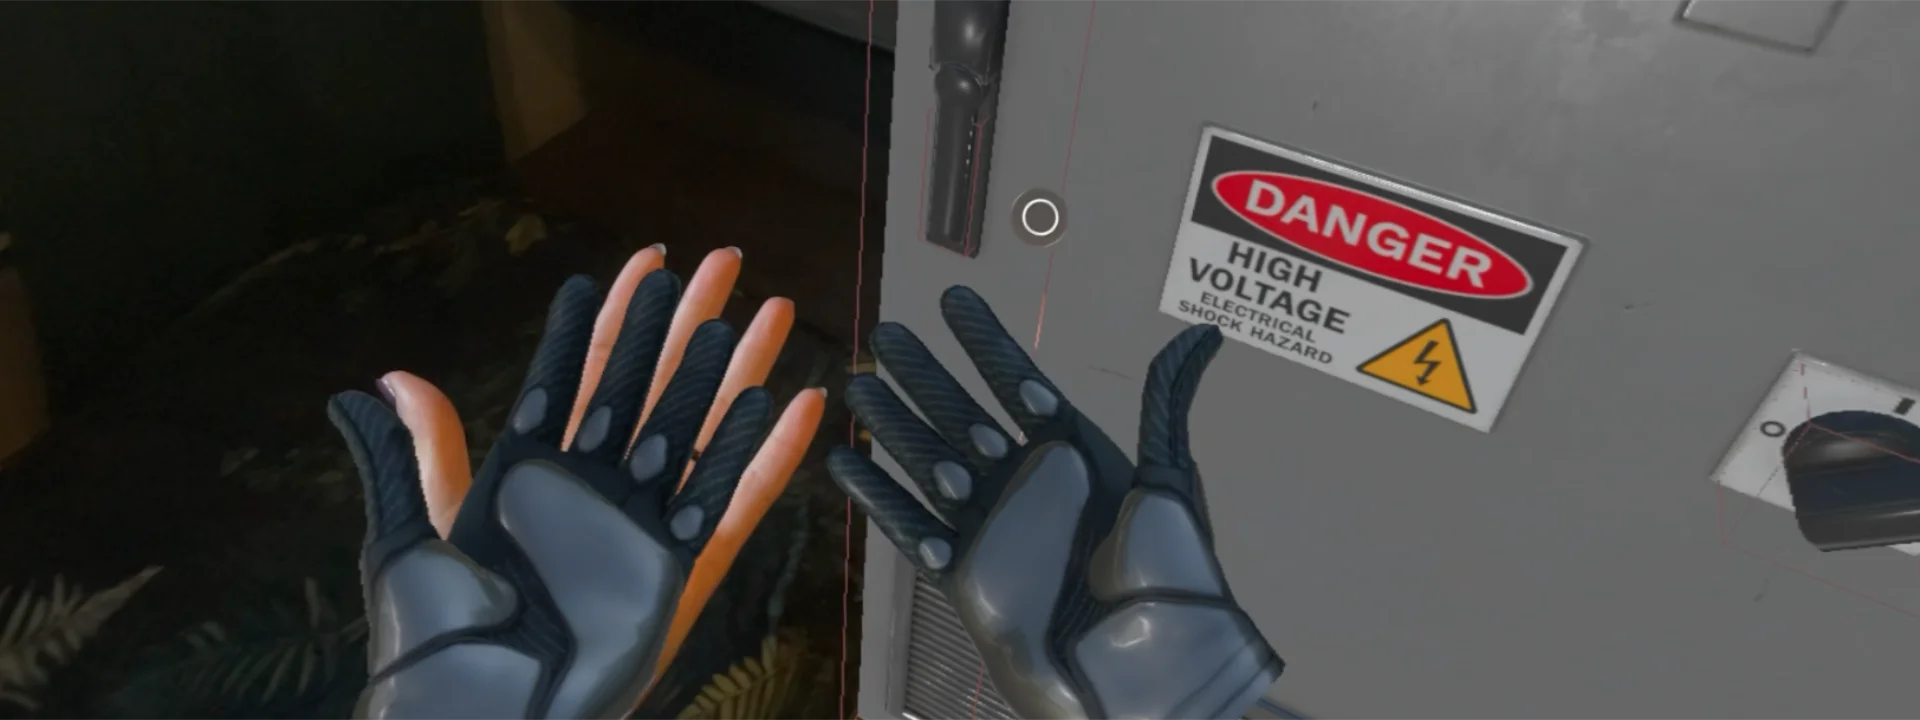
UE5 and Apple Vision Pro Quickstart
Intro
Hi everyone! Getting an Unreal Engine project to actually run on the Apple Vision Pro was a journey, and not always a pleasant one. Resources for AVP development in UE are currently incredibly sparse, so I’ve decided to document my findings here. This guide is built on a mountain of trial and error. It’s exactly the handbook I wish I had when I first started 🖤
To be honest, my first experience developing for the M5 chip on UE 5.7.3 was pretty harsh. Between the "sterile," closed nature of the Apple ecosystem and a series of stubborn visual glitches, the learning curve felt more like a cliff. While I’m sure it gets easier with time, it’s a challenging place for newcomers. I'll share more detailed thoughts on the ecosystem in the summary, but for now, let's dive into the technicalities.
Environment & Initial Setup
Connecting Apple Developer Account to Unreal Engine
To build and deploy projects to your Apple Vision Pro, you must first link your developer credentials within Unreal Engine. You have two primary options for your account: Free or Paid.
Free Account: Perfect for daily coding and rapid testing. It allows you to deploy to your headset, but the application will expire and stop working after one week.
Paid Account ($99/year): By joining the Apple Developer Program, your applications will remain active indefinitely (as long as your subscription is valid). This is the only viable option if you are delivering a final package to a client.
Once you have your account, you need to find your Team ID in Xcode. Open Xcode Settings, go to the Apple Accounts tab, and select your account. In the Teams section, choose the team you want to use and click Download Manual Profiles.

Next, open the Keychain Access app on your Mac and find your Apple Development certificate. Right click it, select Get Info, and copy the value from the Organizational Unit field.

Let's open Unreal Engine and open Project Settings. Find the Xcode Projects tab and paste your ID into the Apple Dev Account Team ID field. Now you are ready to go 🖤
Fixing SDK conflicts when generating project files
If you are working with a version of the engine older than 5.7, you might run into issues generating project files. Older versions of Unreal often demand older versions of Xcode (<= 16.4) which dictates older macOS version. You might see a build error like this:
Exception while creating build target for UnrealEditor: Platform Mac is not a valid platform to build. Check that the SDK is installed properly and that you have the necessary platform support files (DataDrivenPlatformInfo.ini, SDK.json, etc).
To fix this, copy the content of this specific configuration file from version 5.7 (/Users/Shared/Epic Games/UE_5_7/Engine/Config/Apple/Apple_SDK.json) to the configuration file of your older version (e.g. for 5.6: /Users/Shared/Epic Games/UE_5_6/Engine/Config/Apple/Apple_SDK.json). Here is the content of the 5.7 Apple_SDK.json file that you can use:
{
    "//1": "Xcode versions:",
        "MainVersion": "15.2",
        "MinVersion": "15.2.0",
        "MaxVersion": "26.9.0",
    "//2": "!!!",
    "//3": "NOTE: If you update the MaxVersion, double check the AppleVersionToLLVMVersion array below!!!",
    "//4": "!!!",

    "//5": "The versions on Windows are iTunes versions:",
        "MinVersion_Win64": "1100.0.0.0",
        "MaxVersion_Win64": "8999.0",

    "//6": "This is not a version range, but a mapping of Xcode clang versions to LLVM versions, for shared version checks with other clangs",
    "//7": "Version mapping can be found at https://en.wikipedia.org/wiki/Xcode#Toolchain_versions",
    "//8": "The first half of the pair is the first version that is using the second version source LLVM",
    "//9": "For instance, Xcode 16 uses LLVM 17.0.6",
        "AppleVersionToLLVMVersions": [
            "14.0.0-14.0.0",
            "14.0.3-15.0.0",
            "15.0.0-16.0.0",
            "16.0.0-17.0.6",
            "16.3.0-19.1.4",
            "26.0.0-19.1.5"
        ]
}
Once you update this file, generating project files should work smoothly. Always make sure your .uproject file and plugins have Mac listed in TargetPlatforms section.
Basic project settings
Use Forward Rendering. Based on my research, Deferred Rendering does not work well on mobile devices like the AVP. This requires a different approach to graphics compared to standard PC development. Also switching to Metal 3.1 Desktop Renderer seems liked a reasonable (but completely optional) move to improve graphic quality.
You should also add a specific entry to the Project Settings -> Platforms - iOS settings under Additional Plist Data. This is necessary to enable hand tracking. If you do not need this feature, you can skip this step.
<key>NSHandsTrackingUsageDescription</key><string>Track your hands to interact with the application.</string>
Deployment Pipeline
Packaging and deploying
Once these steps are complete, we are ready to package and deploy the application. Make sure your headset is turned on and connected to the same WiFi network as your computer. I performed all my development wirelessly. Some sources says that you can also use Development Strap instead of wireless connection. Also make sure that your headset has Developer Mode turned on (Apple's Settings -> Privacy & Security -> Developer Mode)
In Unreal Engine, select the option to package the project for the VisionOS platform (Platform -> Package Project -> VisionOS -> Package Project). The first build will take some time. Once it is finished, we need to deploy the app using Xcode.
When you first generated project files, a file named ...(VisionOS).xcworkspace has been created in your project directory. Open it. XCode project will open. Find the target device selection and click Manage Run Destinations....

You should now see your headset in the Devices pane. In the Installed Apps section, click the + button and select the package created by Unreal Engine. After it's finished, the app will appear in your AVP library. You can repeat this step to overwrite old versions with new builds.

Launching the app on AVP
You should see a new app icon on your headset home screen. When you try to open it with a free developer account, you will see a message about an untrusted developer.

To fix this, go to Apple's Settings -> General -> VPN and Device Management. In there, in Developer App section select your developer profile. Confirm that you trust the certificate. Now you can launch your app.
Core Mechanics
Hand tracking implementation
Apple limits access to eye tracking for security reasons. If you are not using some kind of controllers, you have to rely on hands and camera position. To read hand bones positions, my approach is to fetch the data in every tick. Below is an educational example of how to implement this. I use UPoseableMeshComponent for my HandMesh in order to override skeletal bones using code. And for the sake of simplification, I define bool bIsLeftHand to indicate which hand is this.
void AXRHandController::Tick(float DeltaTime)
{
    ...
    FXRHandTrackingState HandState;
    EControllerHand HandType = bIsLeftHand ? EControllerHand::Left : EControllerHand::Right;

    UHeadMountedDisplayFunctionLibrary::GetHandTrackingState(GetWorld(), EXRSpaceType::XRTrackingSpace, HandType, HandState))
    UpdateHandBones(HandState);
}
and then by iterating through hand data you can
void AXRHandController::UpdateHandBones(const FXRHandTrackingState& HandData) const
{
    ...
    const int32 ValidJointCount = FMath::Min(HandData.HandKeyLocations.Num(), HandData.HandKeyRotations.Num());
    for (int32 Index = 0; Index < ValidJointCount; ++Index)
    {
        if (FName BoneName = GetBoneNameForJoint(Index, bIsLeftHand); BoneName != NAME_None)
        {
            FTransform JointTransform;
            JointTransform.SetLocation(HandData.HandKeyLocations[Index]);

            FQuat RawRotation = HandData.HandKeyRotations[Index];
            // Apply the rotation offset to fix orientation mismatches
            FQuat CorrectedRotation = RawRotation * FRotator(0, 0, 90).Quaternion();

            JointTransform.SetRotation(CorrectedRotation);
            JointTransform.SetScale3D(FVector(1.0f));

            HandMesh->SetBoneTransformByName(BoneName, JointTransform, EBoneSpaces::WorldSpace);
        }
    }
}
The bone name corresponding to the joint index in a given hand is closely tied to the SkeletalMesh used in the model. In this case, I’m using the default hand mesh SKM_QuinnX_... from the Unreal Engine starter kit. I find simple mapping and an helper function good enough to obtain the right bone name:
FName AAVPBasePawn::GetBoneNameForJoint(const int32 JointIndex, const bool bIsLeftHand)
{
    if (!HandJointBaseNames.IsValidIndex(JointIndex) || HandJointBaseNames[JointIndex].IsEmpty())
    {
        return NAME_None;
    }

    const FString Suffix = bIsLeftHand ? TEXT("_l") : TEXT("_r");
    return FName(*(HandJointBaseNames[JointIndex] + Suffix));
}

// Base name constants - indices align with the XR Joint Index
static const TArray<FString> HandJointBaseNames = {
    TEXT("palm"),              // 0
    TEXT("hand"),              // 1 (Wrist joint maps to root hand bone)
    // Thumb
    TEXT("thumb_01"),          // 2
    TEXT("thumb_02"),          // 3
    TEXT("thumb_03"),          // 4
    TEXT(""),                  // 5 (No physical bone for tip)
    // Index finger
    TEXT("index_metacarpal"),  // 6
    TEXT("index_01"),          // 7
    TEXT("index_02"),          // 8
    TEXT("index_03"),          // 9
    TEXT(""),                  // 10 (No physical bone for tip)
    // Middle finger
    TEXT("middle_metacarpal"), // 11
    TEXT("middle_01"),         // 12
    TEXT("middle_02"),         // 13
    TEXT("middle_03"),         // 14
    TEXT(""),                  // 15 (No physical bone for tip)
    // Ring finger
    TEXT("ring_metacarpal"),   // 16
    TEXT("ring_01"),           // 17
    TEXT("ring_02"),           // 18
    TEXT("ring_03"),           // 19
    TEXT(""),                  // 20 (No physical bone for tip)
    // Pinky finger
    TEXT("pinky_metacarpal"),  // 21
    TEXT("pinky_01"),          // 22
    TEXT("pinky_02"),          // 23
    TEXT("pinky_03"),          // 24
    TEXT("")                   // 25 (No physical bone for tip)
};

There you go! You now have a virtual hand following your movements. I suggest trying to implement gesture detection as your homework ^ ^
One downside is a slight delay compared to the real world. I tried many settings including tweaking many commands (e.g. r.OneFrameThreadLag or r.GTSyncType) and using animation blueprint (and USkeletalMeshComponent instead of UPoseableMeshComponent), but even with stable 90 frames per second, the latency remained. I hope to solve this mystery in the future.
Space calibration & recentering
The easiest way to calibrate your starting position is as follows:
- Stand in the desired starting position and look forward.
- While the game is running, hold the top Digital Crown button of the device for about a second or two. You will see world recentering.
- Your space is now calibrated! If you need to change it, simply move and repeat the process. The world position stays stable until you close the application.
Detecting user presence / wear state change
I could not find a specific engine event for when the user removes and puts back the headset. However, I wrote a very simple solution. You can monitor the time between engine ticks. If the gap between frames is unusually long, the headset was likely taken off and the game has been paused. Here is how to write this cleanly:
void UXRHeadsetActivityMonitor::BeginPlay()
{
    ...
    LastRecordedTime = UGameplayStatics::GetRealTimeSeconds(GetWorld());
}

void UXRHeadsetActivityMonitor::TickComponent(float DeltaTime, ELevelTick TickType, FActorComponentTickFunction* ThisTickFunction)
{
    ...
    const float CurrentTime = UGameplayStatics::GetRealTimeSeconds(GetWorld());
    const float ElapsedSinceLastTick = CurrentTime - LastRecordedTime;

    if (ElapsedSinceLastTick > MaxOffTimeInSeconds)
    {
        // App was suspended or didn't tick for long enough - broadcasting delegate
        if (OnHeadsetSuspended.IsBound()) OnHeadsetSuspended.Broadcast();
    }

    LastRecordedTime = CurrentTime;
}
Kiosk Mode / Single App Mode
If you are preparing an app for an event and want to prevent users from leaving the game, use the Guided Access feature. This also ensures the app returns to the foreground immediately after someone puts the headset back on. And skips annoying Apple wake-up logo and all pop-ups (like "Your eyes are too far from display") after headset is put on. To enable the Guided Access feature, go to the Settings menu on your Apple device, select Accessibility > Guided Access and turn on the feature. You'll need to set a passcode - be sure to remember it.
Now run the app and triple click the Digital Crown button to start the session. Make sure to disable System Interactions in the options. Users will be safely locked within your virtual world. Another triple click and entering the code will disable the lock.

Troubleshooting
Objects disappearing in the right eye
During my work, I noticed that objects far away would disappear from the right eye. This was very annoying. Increasing all actors bounds helped, but it was not very practical. My quick workaround is setting r.AllowOcclusionQueries=0 in the console or config file. I am still looking for a more efficient solution, but this works for now.
MSAA and visual artifacts
While the default FXAA is lightweight and efficient, I found the resulting edges far too jagged. After experimenting with alternative methods, I found that only MSAA provided a viable improvement, though it initially introduced strange visual artifacts.

r.Mobile.AntiAliasing=3
r.AntiAliasingMethod=3
To resolve this, simply enabling MSAA in your engine settings isn't enough. You must also update the specific device profile in your project configuration (located at /Config/VisionOS/VisionOSDeviceProfiles.ini) by adding the following lines:
[VisionPro DeviceProfile]
-CVar=r.Mobile.XRMSAAMode=0
+CVar=r.Mobile.XRMSAAMode=2
This step is necessary because the BaseDeviceProfile.ini in the engine's default configuration overrides this value to 0. Consequently, adding r.Mobile.XRMSAAMode=2 to your standard DefaultEngine.ini will not work, it must be explicitly defined within the device profile to take effect.
Audio crackling
There appears to be a conflict between Unreal Engine's audio and native visionOS sounds when the headset is removed and put back on. I noticed audio glitches and crackling sounds whenever the device was re-engaged.
A reliable workaround is to navigate to Apple's Settings > Accessibility > Audio & Visuals and disable Sound Effects. Once this is turned off, the audio remains clear and stable every time you take the headset off and put it back on while your application is running.
"Voxelized" alpha/transparency
If you notice "voxelized" alpha artifacts appearing around virtual objects in Immersive Mode, as shown in the image below, you should disable Bloom in your project settings.

This can be easily corrected by adding the following line to your DefaultEngine.ini file, which should resolve the visual glitch:
r.DefaultFeature.Bloom=False
Video playback issues
I encountered issues when trying to play packaged video files on Apple Vision Pro. Despite that video files were placed in Content/Movies directory and the app could locate the media files on the device, the UMediaPlayer::OpenSource(*) method consistently returned false. Attempting to use the Electra Media Player plugin caused fatal crashes and "stale world object reference" errors during launch. It appears the Unreal Media Framework is currently unable to reliably open video sources on this platform.
As a workaround, I converted the animations into texture atlases and used flipbook materials. Although this method is way more labor-intensive, I found it a stable way to display animated content on the Apple Vision Pro when standard video playback fails.
Visual quality and resolution
Despite extensive testing, I have been unable to resolve the low render quality issues. The application appears pixelated, as if the resolution is not high enough for the device. I have tried adjusting r.ScreenPercentage and vr.PixelDensity, switching Metal versions, toggling between Mobile and Desktop renderers, and enabling Foveated Rendering, but none of these changes improved the visual clarity. This remains an open issue that requires further investigation.
id:: 69e4c3e2-e55d-4363-a821-2243bf30a0c5
Performance & Debugging
Accessing crash logs
If your application crashes, navigate to the Manage Run Destinations window in Xcode, select Open Recent Logs, and open the latest .ips file. This file contains the diagnostic data captured by the Apple Vision Pro at the time of the crash. Because these logs are significantly harder to parse than standard Unreal Engine crash reports, I recommend feeding the log content into an AI assistant to help identify the root cause. It isn't perfect, but I guess it’s the best tool available for low-level debugging on this device.

Profiling with Unreal Insights
You can profile your application using Unreal Insights just as you would with a standard PC project. To begin, you must configure the Launch Arguments in your Xcode Scheme. Navigate to Product > Scheme > Edit Scheme...and add -tracehost=[Your_PC_IP] along with the specific trace channels you wish to monitor (e.g., -trace=cpu,frame).

Next, deploy the packaged build to your Apple Vision Pro. There is no need to repackage within Unreal Engine. Simply deploy it from Xcode. Then launch the app and ensure the headset remains on your head during the profiling process to prevent the application from entering a paused state, which would stop the trace transmission.
Launch the Unreal Insights application, which is located in the engine binaries at /Users/Shared/Epic Games/UE_[Version]/Engine/Binaries/Mac/UnrealInsights. In the Connection tab, input the Trace Source (your AVP's IP address, found under Settings > WiFi) and the Trace Destination (your computer's IP). Set the Initial Channels to match your Xcode arguments and establish the connection.

Once the session starts, a live trace will appear in the Trace Store tab. If you encounter issues opening the trace directly on macOS (like I did), you can manually retrieve the trace files from /Users/[User]/UnrealEngine/UnrealTrace/Store/001. These .utrace files can then be copied to a Windows PC and opened in Unreal Insights there.
Summary and Final Thoughts
The device itself is a beautiful piece of hardware, but the ecosystem and developer support currently feel like a desert. The most significant bottleneck is the lack of a functional "VR Preview" mode. Having to deploy to the headset via Xcode every time you want to test a change makes the iteration loop incredibly sluggish and cumbersome compared to standard VR development.
If you are starting a project today, I highly recommend using Unreal Engine 5.6 over 5.7. Based on community feedback and my own testing, 5.7 is still quite buggy regarding visionOS implementation, whereas 5.6 offers a much more stable foundation for getting things running.
Furthermore, Apple’s strict gatekeeping, specifically the $99/year developer fee and the mandatory review process, is a major point of friction for niche projects. For a "closed-booth" or private enterprise application where the app is never meant for the public App Store, having to wait for Apple's approval just to provide a client update feels like excessive overkill. It’s a frustrating hurdle when you simply need to maintain control over your own deployment timeline.
Ultimately, the Apple Vision Pro feels a bit too "immature" for a smooth solo or small-team development experience using the stock engine. If you want to bypass many of these unpolished hurdles, it may be worth exploring the Polyarc Unreal Engine visionOS Fork. It appears far more tailored to the platform’s specific needs and could save you from the many headaches currently found in the official engine versions.